Introduction
SAFE® Versions
SAFE® Startup
Tools Disk
Adding Drivers
The SAFE® Explorer
Bit Locker Access and Functionality
Taking Notes
Command Line Options
Microsoft® Task Manager
The SAFE® Log
SAFE® Shutdown
Welcome to ForensicSoft's System Acquisition Forensic Environment (SAFE®) boot disk, the first and only forensic product of it's kind! The SAFE® boot disk (available in CD or USB) is designed to boot any Intel® based computer into a forensically sound Microsoft Windows® environment. All disks attached to the booted system, fixed and removable, are write-blocked using the SAFE® software write-blocking engine during boot time as well as any disks attached at any time while the SAFE® environment is running.
The SAFE® boot disk allows for write-blocked acquisition, triage and/or analysis of any attached disks, including IDE (PATA and SATA), SCSI, USB, IEEE1394, SAS, Fiber Channel, flash media, etc. This includes any hardware RAID arrays, which can be acquired and/or analyzed in the SAFE® environment as a single array rather than having to acquire individual disks and attempt to rebuild the RAID array in order to analyze it. Because Windows® device drivers are readily available for all disk controllers (i.e. SAS, SCSI, SATA, etc.), using the SAFE® boot disk you will never be unable to forensically image a RAID array due to lack of drivers, which is a common issue with forensic examiners using Linux-based boot disks.
Since the SAFE® boot disk is built on a Microsoft Windows® environment, you have the ability to utilize your favorite GUI forensic tools such as EnCase®, FTK® Imager, X-Ways® Forensics, etc. with zero learning curve. The SAFE® boot disk will have you out performing on-site acquisition, triage, and analysis immediately. The user error risks and issues that come along with utilizing Linux-based boot disks, such as typos in command line applications like "dd" or confusing /dev/sda with /dev/sdb (or similar) do not exist within the SAFE® boot disk environment.
Once you start using the SAFE® boot disk you will wonder how you ever imaged a laptop or server without it!
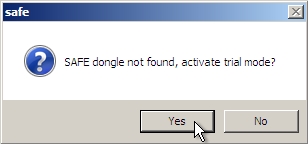
The SAFE® boot disk is sold in two different versions, the Consultant Edition and the Enterprise Edition. Both versions require a dongle to be attached in order to enable full functionality. Without this dongle, the system will start in trial mode so that the software can be evaluated.
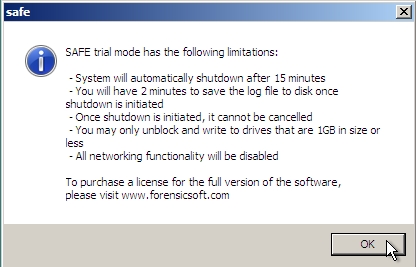
If a valid SAFE® dongle is not detected during the boot process, you will have the option to continue booting and activating trial mode. In trial mode, the system will automatically shut down after 15 minutes, at which point you will be given the option to save the log.
Trial mode also has the following limitations:
With a valid dongle attached, full SAFE® functionality will be enabled. All disks can be un-writeblocked, networking functionality can be used, and the system will operate for 72 hours before it automatically shuts down.
The differences between the two license types are:
The SAFE® environment is contained in a compressed image on the boot CD or USB disk. When any system is started using the SAFE® boot disk, the image will be decompressed into the RAM of the booted system, creating a virtual "X:\" drive containing the SAFE® OS. SAFE® requires a minimum of 384MB of RAM to create the required RAM disk and successfully boot the SAFE® environment. Although 384MB of RAM is sufficient for booting a system, it is recommended that the booted system have 512MB of RAM or more to minimize low memory issues.
Due to I/O speed differences, booting the SAFE® environment from a bootable SAFE® USB disk is much faster than booting from a SAFE® boot CD, as uncompressing the OS image from a CD can be slow.
All attached disks, fixed and removable, are immediately write-blocked (excepting tools disks) using the SAFE® software write-blocking engine, during boot time as well as any disks attached at any time while the SAFE® environment is running.
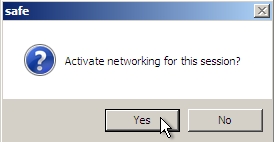
Once the system is started, a prompt will ask to enable networking for the session. By default, all network adapters are started as disabled. If yes is selected, these adapters will be enabled and the system will attempt to obtain an IP address via DHCP if a DHCP server is available.
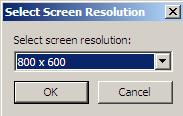
The system will now prompt for what screen resolution should be used. Only resolutions supported by the system video adaptor will be listed. Once a resolution is selected 15 seconds are provided to confirm the selection making the resolution change permanent. The resolution can also be changed after startup from within SafeExplorer using the Tools->Set Resolution menu option.
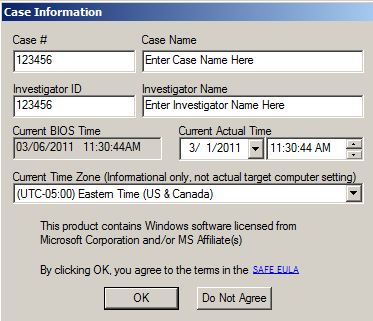
At this point case information is entered and the system will detect and log all devices on the system. The log is initialized as a write-only file in RAM preventing any unintentional modifications to it.
The SAFE® boot disk will now detect attached hardware and complete the loading of the SAFE® environment.
The SAFE® boot disk environment supports many third-party Windows® tools. A current list of tested and supported tools can be found on the ForensicSoft website. However, many additional applications designed for Windows® XP may also work in the SAFE® environment beyond those tested by ForensicSoft. As additional tools are tested, they will be added into the SAFE® Tools Disk Creator application. Using the automated SAFE® Tools Disk Creator or manual instructions provided by ForensicSoft, you will be able to create a customized USB tools disk for use with your SAFE® boot disk. When SAFE® detects the existence of a tools disk, either at startup or inserted at any time during runtime, the selected tools will automatically be installed to the RAM drive and be enabled for use. To ensure the functionality of all 3rd-party tools, the tools disk will automatically be un-writeblocked. All tools can be launched from the appropriate folder on the Y drive letter once installation is complete.
Most devices attached to the system will automatically be recognized and installed during startup. Any devices for which drivers are not included in the SAFE® boot disk, such as new mass storage disk controllers, simply place the Windows® driver on an external disk (typically a USB thumb drive or CD) and attach it to the machine running SAFE®. Click the "Add Driver" button from the main menu and browse to the .inf file for the desired device. The system will then install the driver and automatically attach it to the correct device, enabling it for use.

The main application and central forensic control center of the SAFE® boot disk is the SAFE® Explorer. Using the SAFE® Explorer, you can perform the following functions:
· Unblock and block the write protection status of any attached disk.
· View, open, and close (if you previously used this feature to open it) any HPA, DCO or HPA&DCO that exists on an IDE disk attached to an IDE controller.
· Calculate an MD5 or SHA1 hash of a physical disk or file.
· Prepare your target disk(s) for receiving evidence. (Wipe, Partition and Format disks)
· View the XML log.
· Add device drivers.
· Change screen resolution.
· Explore NTFS and FAT file systems.
· Copy, move, delete, rename or create files or folders.
· Basic searching of NTFS and FAT file systems using filename, extension and/or MAC dates as search criteria.
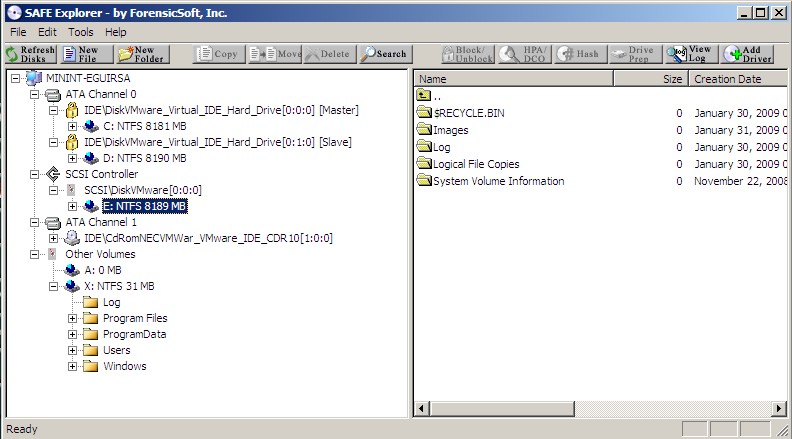
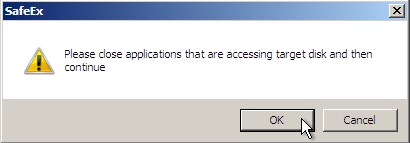
The write protection status (blocked/unblocked) of any physical disk is shown in the left pane of the SAFE® Explorer. A blocked disk is indicated by a gold padlock icon to the left of the physical disk's description. An unblocked disk is indicated by a gray disk icon. Upon booting any system with the SAFE® boot disk, all attached disks will automatically be in a write protected (blocked) status. To change the write protection status of any disk, simply select the disk in the left pane and click on the "Block/Unblock" button on the SAFE® Explorer toolbar. If unblocking a blocked disk, you will be prompted to confirm that you wish to unblock the disk. Upon unblocking a disk, a corresponding log entry is made in the SAFE® log. If blocking an unblocked disk, you will be reminded to close any applications that may be accessing the disk before you block any further writes to the disk. A corresponding log entry will be made in the SAFE® log.

If any IDE disks are attached to the system via an IDE disk controller, the disk can be interrogated for the capacity and the existence of any ATA Host Protected Area, Device Configuration Overlay or combination of the two. If an HPA, DCO or HPA/DCO exist, you can open them using "HPA/DCO" button on the SAFE® Explorer toolbar to allow the acquisition and/or analysis of any data hidden by the HPA, DCO or HPA/DCO. Select desired IDE physical disk in the left pane of the SAFE® Explorer and click on the "HPA/DCO" button. If any HPA, DCO or both exist, their existence and size will show as in "red" portions on the displayed bar.
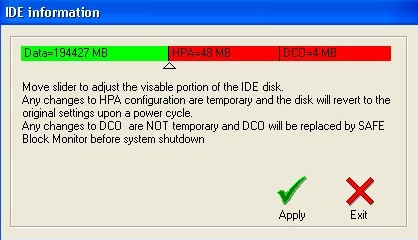
Using the slider, you may move the slider to the right (past the red portion(s)) and click "Apply" to temporarily open the hidden disk area. After a short "refresh" delay, the disk will be re-detected within the SAFE® Explorer, now showing the true full capacity of the IDE disk. You may now acquire, search, or otherwise analyze the entire IDE disk. When you have completed your desired processing, return to this IDE information dialog box and move the slider back to it's original position to replace the IDE disk back to it's original HPA/DCO state.
Opening a DCO or HPA/DCO combination requires the use of a non-volatile command. The DCO or HPA/DCO combination will be replaced by SAFE upon a normal shutdown. In the event of an abnormal SAFE shutdown or other technical reasons, the DCO or HPA/DCO may need to be manually replaced using the sector counts provided to you by SAFE prior to opening the hidden area. Please contact ForensicSoft support for assistance in manually replacing a DCO or HPA/DCO.
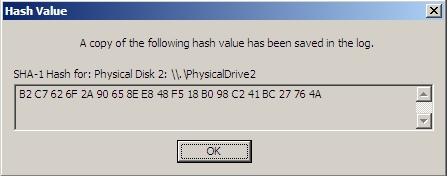
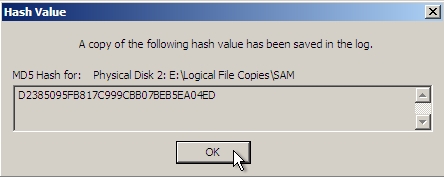
Using the SAFE® Explorer you can calculate either an MD5 or SHA1 hash of any physical disk or file. To hash a physical disk, select the desired physical disk in the left pane of the SAFE® Explorer and click the "Hash" button on the SAFE® Explorer toolbar. Choose either the MD5 or SHA1 option and click "OK". Once the hash calculation is complete, a dialog box will display the result and a corresponding log entry will be made in the SAFE® log.
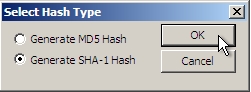
To hash a file, browse to the desired disk, partition and folder in the left pane of the SAFE® Explorer. Select the desired file in the right pane of the SAFE® Explorer and click the Hash" button on the SAFE® Explorer toolbar. Choose either the MD5 or SHA1 option and click "OK". Once the hash calculation is complete, a dialog box will display the result and a corresponding log entry will be made in the SAFE® log.
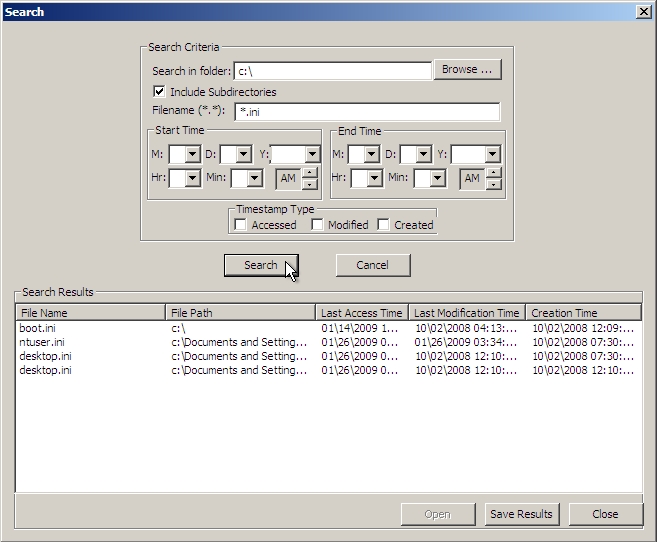
The SAFE® Explorer provides for basic file searching using Filename, Extension and MAC dates/times as search criteria.
The SAFE® Explorer provides for basic file and folder operations including the ability to Copy, Move, Delete, Rename and Create files and folders. These file/folder operations can be performed in a variety of ways in the SAFE® Explorer using either the options under the File and Edit menu options and/or right-clicking on a given file, folder or partition in the left and right panes of the SAFE® Explorer. Of course, to perform any of these file/folder operations other than copying files from a write protected (blocked) disk, you must unblock the disk prior to making any changes to a protected disk.
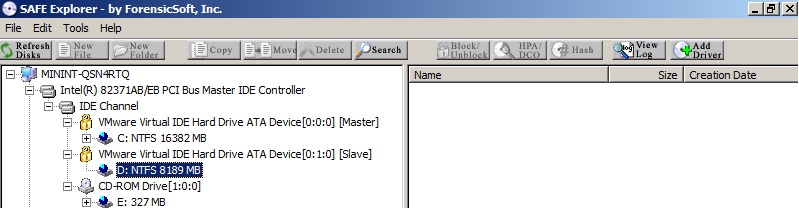
Drive D: shown below is encrypted with BitLocker, and disk contents are not viewable.
Using the Command Prompt tool, access BitLocker volumes using the following instructions:
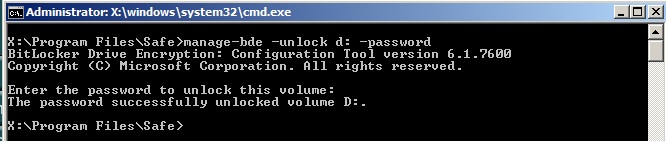
Once unlocked the volume is now available and contents viewable in both command prompt and SAFE Explorer. The BitLocker Volume is write-blocked as expected with full access to any contents.

If you chose to Un-block the physical disk on which the BitLocker volume resides, you will have write access to the volume just like any other disk you may Un-block.
Using the command line syntax “manage-bde –help” you will be provided a full list of other BitLocker functionality, to include the ability to decrypt encrypted volumes, check the status of BitLocker volumes, and many other functions.
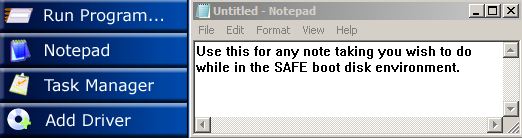
Notes can be taken using the Microsoft Notepad® application, which is available via the "Notepad" button on the main menu. Simply save the text file to any un-blocked target drive when you are done.
Many common Windows® command line applications are built into SAFE. These include but are not limited to:
To open a command prompt, simply click on the "Command Line" button on the main menu.
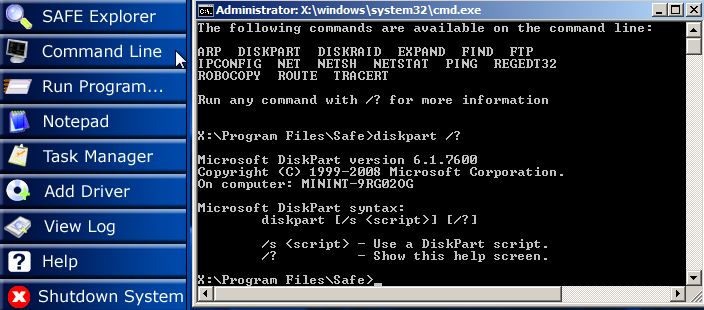
A full list of available applications can be found by typing "dir x:\Windows\System32\*.exe" in the command prompt window. Built-in help for any of the command line applications can be displayed by typing the command followed by /? as shown in the above screenshot.
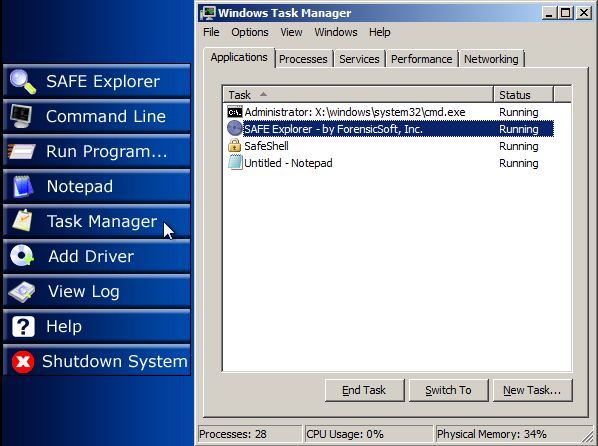
Microsoft® Task Manager is available to monitor, cancel any running applications or processes, or start new tasks, just as in Microsoft Windows. Task Manager can be opened via the button on the main menu, or by pressing the Ctrl-Shift-Esc key combination at any time while in the SAFE® environment.
During startup an XML log is created and automatically logs various items, including the Case Information you entered at SAFE® startup, which documents the system BIOS date & time and any time discrepancy noted by the investigator. All detected system hardware is added to the XML log. All operations performed while in the SAFE® Explorer environment are logged. The below example shows the log recording the un-writeblocking of a target disk, creating a new folder on the target disk and then copying a file from the system's C:\ drive to the examiner's target disk.
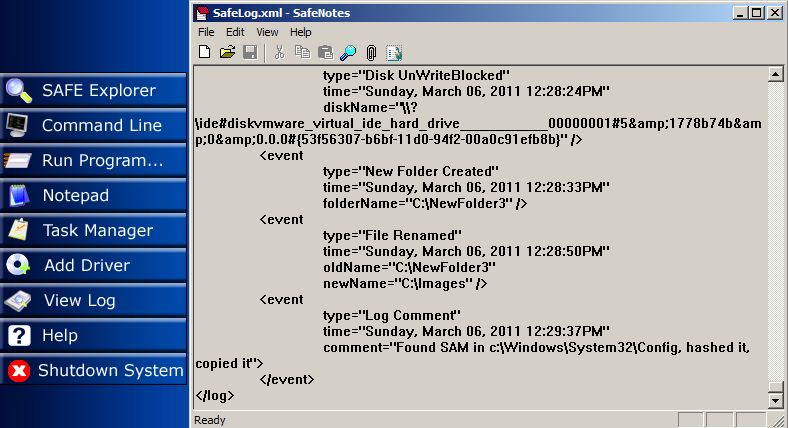
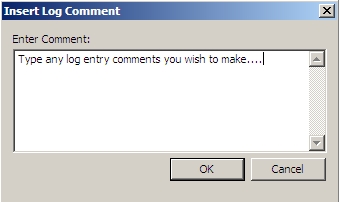
The log is stored in XML format and can be converted to HTML for easy viewing. To view this log, press the "View Log" button on the main menu. Within the SafeLog viewer you have the ability to search for text strings using the magnifying glass icon on the SafeLog toolbar or using the menu option Edit/Find. At any time you may manually add additional information into the log by clicking on the paperclip icon on the SafeLog toolbar or selecting the menu option Edit/Enter Log Comment. Using the SafeLog application you may only add comments to the log and may not remove or change any existing log content at any time.
The SafeLog viewer allows you to view the log in HTML format using the HTML viewer built into SAFE®. Simply press the "View as HTML" toolbar button or select the menu option View\View Log as HTML.
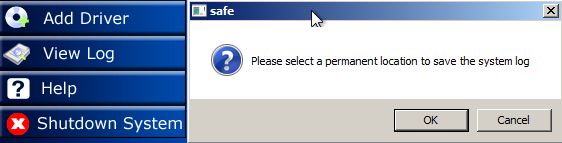
The XML log is temporarily stored in the X:\Log folder, which is located on the RAM drive created by SAFE® during boot time. Within the SafeLog application you have the ability to manually save the XML log to any disk at any time prior to shutdown, provided you remove the write blocking from the disk to which you want to write the log, using the menu option File/Save As. You will automatically be prompted to permanently save the log when SAFE® is shut down.
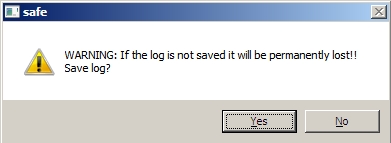
If you click "Cancel" you will be asked to confirm that you really do not wish to save the log.
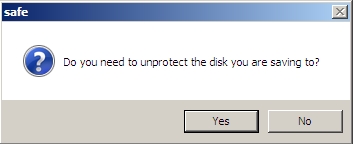
If you do choose to save your log during shutdown, you will be asked whether or not you need to unblock the write protection of the attached disk to which you will write the log (in case it has not already been unblocked by you).
Once you have an unblocked disk to which you can write your log file, you will browse to the location and save the .XML file. The log file itself will be saved in XML format, along with an HTML version of the log as well as files that facilitate the HTML conversion. The log will also be hashed using MD5 and a copy of this hash will be saved in a separate file.
To shutdown the system you have booted with SAFE®, at any time, simply click on the "Shutdown System" button from the main menu.

You will be prompted about saving your log, as discussed above in the SAFE® Log section of this help file.
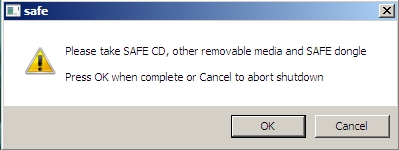
After you choose to save your log or not, you will finally be reminded to take your CD, removable media, and SAFE® dongle with you.